by Margaret Dawson | Dec 25, 2020 | Favorite Recipes
My gluten free version of the Moosewood Cardamom Coffee Cake Recipe
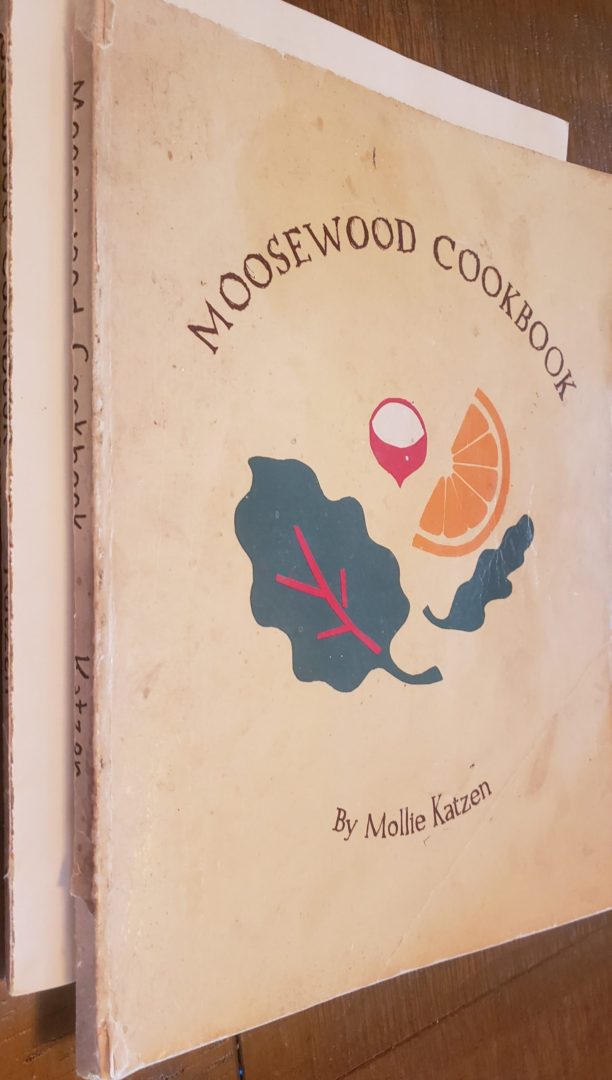 One of my favorite cookbooks of all time is the Moosewood Cookbook by Mollie Katzen. My well worn, ripped copy introduced me to wonderful new baked goods and comfort food meals.
Before my gluten intolerance diagnosis, I loved making the Moosewood Cardamom Coffee Cake. It was moist, rich, and absolutely delicious. It took time to make and bake, so it was a labor of love always worth the rave reviews.
As with so many of my favorite recipes, I was determined to create a gluten free version of this perfect brunch coffee cake recipe. After several attempts that were all decent, I created the winning combination, in my opinion. I hope you will agree and enjoy this as much as we do.
 I made several adjustments beyond gluten
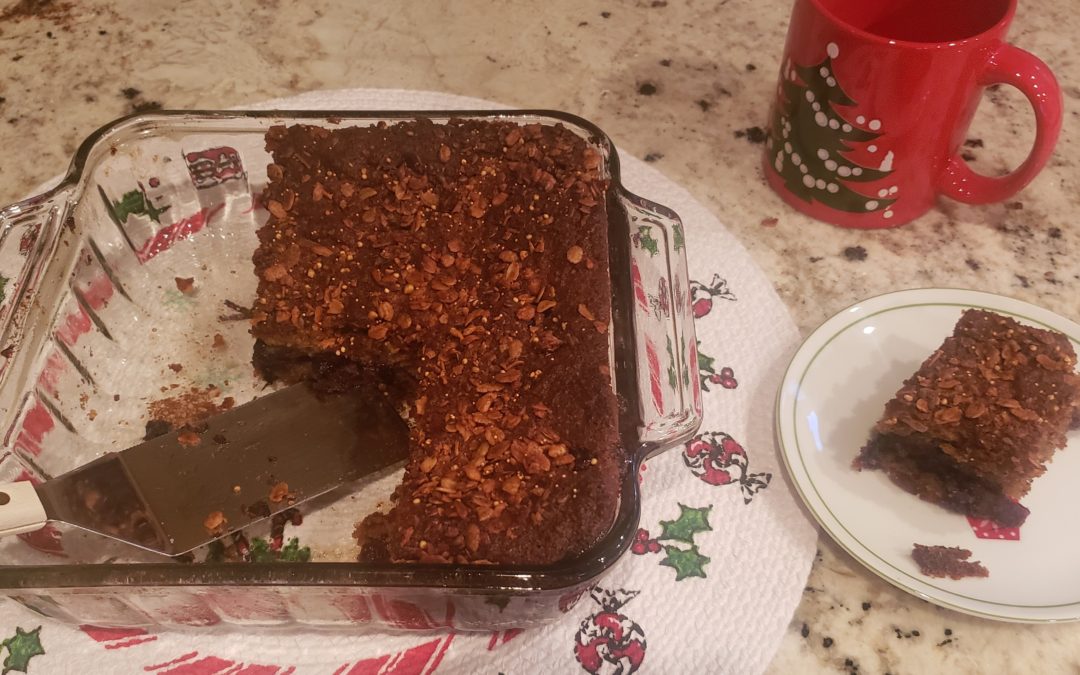
As part of my adaptation of this coffee cake recipe, I cut the quantity in half. The original calls for a pound of butter and is baked in a large Bundt pan. With my adjusted ingredient levels, it works perfectly in a standard 9×9 baking pan.
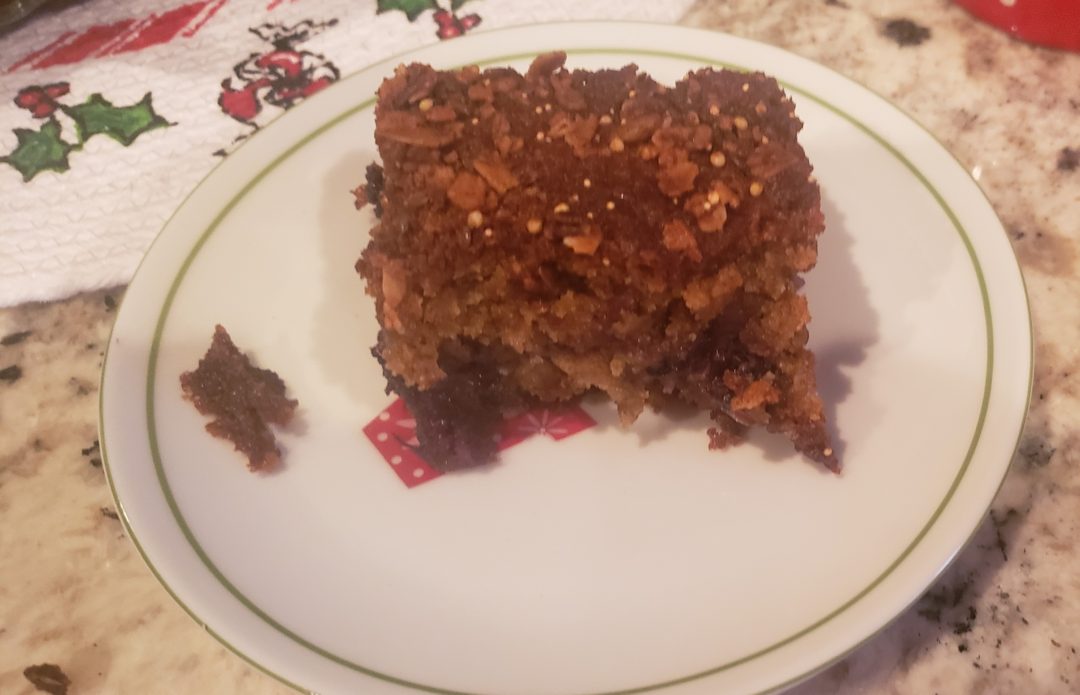
Also, as I am apt to do, I made the recipe a bit easier to prepare. Finally, I updated the filling with granola and blueberries, and added the topping. I find nothing better than a crunchy, cinnamonny topping.
The one aspect that remained the same was its rich, savory flavor that is hard to resist. While I removed the gluten, I did not remove the calories or richness.
In other words: warning! This is not low fat. Even worse, it is hard to eat just one piece!
Enjoy this delicious coffee cake recipe
Prep time: About 15 minutes
Cook time: 1 to 1½ hours
Ingredients:
- 1 cup butter
- 1 cup coconut sugar
- 3 eggs
- 1 tsp vanilla extract
- 1 cup plain or vanilla Greek yogurt / or sour cream
- 1 cup blueberries
- 1½ cups almond flour
- ½ cup coconut flour
- ¼ cup white rice flour
- 1 tsp xanthan gum
- ¼ tsp salt
- 2 to 4 tsp cardamom (I use a LOT)
- 1 to 2 tsp cinnamon (again, love Cinnamon)
- 2 tsp baking powder
- ½ tsp baking soda
- 1 Tbsp lemon juice to activate soda
Filling & Topping
- ½ cup Coconut Sugar
- 1 tsp Cinnamon
- ¼ – ½ cup gluten free granola or nuts of your choice
Directions:
- Preheat oven to 350 degrees
- Spray or butter 9 x 9 glass baking pan
- In a small bowl, mix all the dry ingredients together, except the baking soda
- In another smaller bowl, mix together the Filling/Topping mixture
- Wash the blueberries in a colander and allow them to drain
- Using either a whisk or electric mixer, cream the butter and sugar together (I use a whisk)
- Add eggs one at a time, mixing after each egg
- Add the vanilla and mix
- Add the yogurt or sour cream and mix (on low if electric) until smooth.
- Slowly add the dry ingredients from your small bowl, whisking or mixing on low after each bit.
- Once all mixed, add the baking soda and pour the lemon juice over the baking soda and watch it bubble! (Okay, this is not necessary to activate the baking soda, but it’s fun to watch and I love seeing the activation!)
- Mix one more time to ensure all ingredients are blended.
- Fold in blueberries
- Pour ½ of the batter into your greased baking pan.
- Add the blueberries and ½ of the filling/topping mix
- Pour the remaining half of the batter on top. I use a thin spatula to gently spread the batter across the blueberry filling without disturbing it.
- Sprinkle the remaining topping mixture on top
- Put it in the oven on the middle rack.
Baking time
Bake for at least one hour. Total baking time will be anywhere from 1 hour to 1 hour and 25 minutes. Mine took 1 hour and 10 minutes the last time. The middle of the cake should not be squishy and the toothpick should come out clean. But don’t wait until it’s hard. Should still bounce back to touch.
Cool for 5 to 10 minutes.
Cut into squares and enjoy while still warm.
Eat alone or as part of a bigger brunch
I find it hard to wait for the rest of breakfast to start eating this coffee cake. Honestly, it’s perfect alone with a hot cup of coffee. Therefore, if you are preparing a proper brunch, I’d recommend you give yourself a taster piece while you are preparing the rest of the meal (goes beautifully with coffee or a mimosa). I love doing a big egg frittata or scramble with the coffee cake.
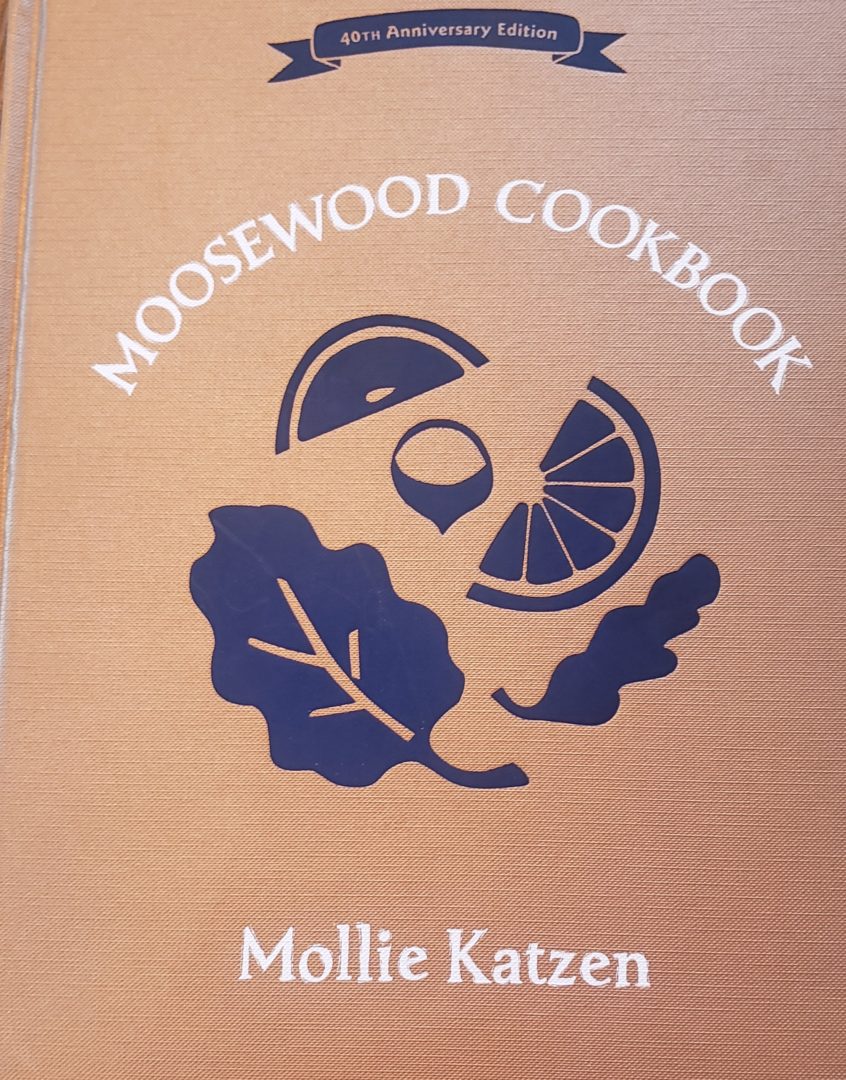
And the good news is I received a new copy of the Moosewood Cookbook 40th Anniversary Edition for Christmas this year!
by Margaret Dawson | May 2, 2020 | Favorite Recipes
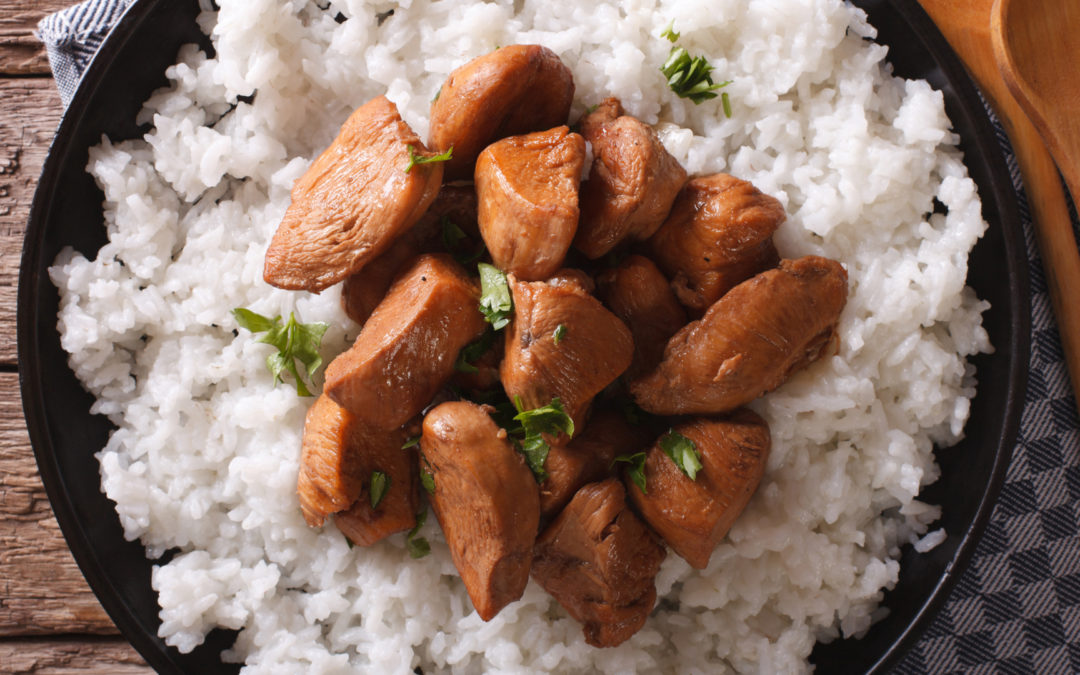
Chicken Adobo Recipe: My personal adaptation
One of the things I loved most about living in Asia for nearly 10 years was the food. Oh, and the spices. The smells, the textures, the sweet, salty, sour, and spicy all at once. Your tongue just delighting in it all.
Of course, the best part of trying new dishes is attempting to recreate them at home. There are some I never did get right, but the experiments are always worth every failed attempt. One that I was able to consistently create and make my own is this Philippine chicken adobo recipe.
What is Philippine Adobo?
Philippine adobo is a classic and popular Filipino dish. The sauce or marinade includes vinegar, soy sauce, garlic and black peppercorns. It’s typically made with pork or chicken, but really you could do it with vegetables as well.
My recipe is an adaptation of the traditional Philippine adobo dish. And yes, I do have issues following recipes – I have to make them my “own”.
I follow the basic four ingredients for the chicken adobo sauce above, but instead of rice vinegar I use Apple Cider vinegar. In addition to black peppercorns, I add Cinnamon Sticks. Finally, I add one can of Coconut milk to the sauce, which brings a creaminess and sweetness that I just adore. For the meat, I use boneless chicken breasts, but you can also use thighs or other parts of the bird (cooking time might vary based on how thick the pieces are).
I hope you enjoy this version of chicken adobo as much as I do. It’s perfect with stir fry broccoli with garlic and a little soy sauce (one of my favorite vegie dishes that all the boys love), and jasmine or coconut rice.
Ingredients:
- 4 to 5 boneless breasts of chicken
- 1 TBSP olive oil
- 1 cup apple cider vinegar
- 2 cinnamon sticks broken into one inch pieces
- ~2 TBSP whole peppercorns
- 1 cup gluten free soy sauce (you can use regular soy sauce. I recommend low sodium).
- 2 TBSP crushed/chopped garlic (~ 4-5 cloves)
- 3 to 4 bay leaves
- 5 to 6 whole cloves
- 1 can lite Coconut Milk
Directions:
- Use a 13×9 glass baking pan.
- Mix all ingredients except chicken in the baking pan and stir.
- Add chicken pieces to the plan, putting a few fork pokes in the meat on each side and turning the chicken over to get the marinade into the meat on both sides.
- Cover the baking pan and refrigerate for 3 or 4 hours (or overnight is even better!).
- After marinating, remove pan from the refrigerator.
- Preheat oven to 325 degrees (I find cooking chicken on lower temperature for a longer time makes the meat more tender).
- Bake the chicken IN the marinade and the same pan for 30 to 35 minutes (check at 25 minutes to make sure and not overcook).
- Remove and let settle for a couple of minutes.
- Serve on top of Jasmine Rice or Coconut Rice and with garlic broccoli as a side.
- Use the sauce (marinade) to pour over the chicken adobo and rice (so yummy!!).
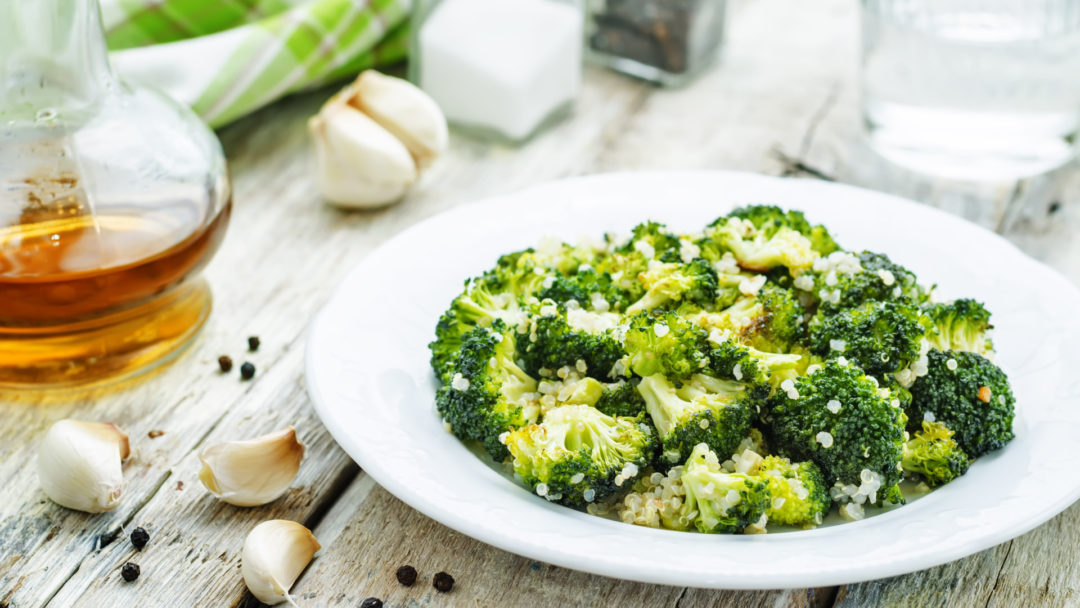
Stir fried Garlic Broccoli is the perfect side dish with Chicken Adobo
by Margaret Dawson | Feb 2, 2020 | Favorite Recipes
Moist, healthy, low fat blueberry muffins
I don’t even remember where I received my initial inspiration for these blueberry muffins. If it’s like most of my recipes and cooking, it probably emerged from a montage of multiple recipes. I start with ideas gathered from several sources, and then I make it my own, which means it must include cinnamon, lemon juice, coconut sugar, and other favorites. Usually, my inspirational recipes are always missing something. For example, I wanted them to be high fiber, so I added flaxseed, but still light – so I added baking soda and a little lemon juice. The result: fluffy, high fiber, gluten free muffins emerged!
Trust me, there are typically many failed tests in my experimental cooking process. I remember one batch that I used flaxseed meal instead of the actual flax “seeds”. The result, which ended up in the trash, were heavy, pasty-tasting muffins. Yuck.
But I love this process, figuring out what works and what doesn’t. It’s like a hidden mathematical equation, where I have to break it down into pieces and solve the problem. This is why I loved Algebra. However, cooking like this also feeds my creative side.
What do they say about cooking? It’s the combination of science and art. Which makes me a food geek. Yes!!
The Important Numbers
The quantities of ingredients below make 12 to 18 muffins, if using a regular size muffin pan. I estimate each muffin is approximately 250 to 300 calories, plus they are high in protein, fiber, antioxidants and yumminess!
Main Ingredients:
- 2 to 3 ripe bananas (if small use 3)
- ⅔ cup Coconut Sugar
- 3 Large eggs
- ¼ cup Coconut Nectar (or organic honey or pure maple syrup)
- ¼ cup Coconut oil (melted or liquid) – or you can use Grapeseed oil or melted grass fed butter
- 1 TBSP lemon juice
- 1 tsp Vanilla Extract
- ½ cup unsweetened Almond milk (can use coconut or rice milk) – you can add a bit more if not moist enough.
|
- 3 cups Paleo Flour
- ¼ white rice flour (maybe try coconut or oat flour?)
- 1 cup flaxseed (light or dark is fine)
- 1 tsp kosher salt
- ½ tsp baking soda
- 2 tsp baking powder
- 1 – 2 tsp cinnamon
- 2 dashes nutmeg
- 2 – 3 dashes cardamon
- 1 ½ – 2 cups blueberries
|
Topping:
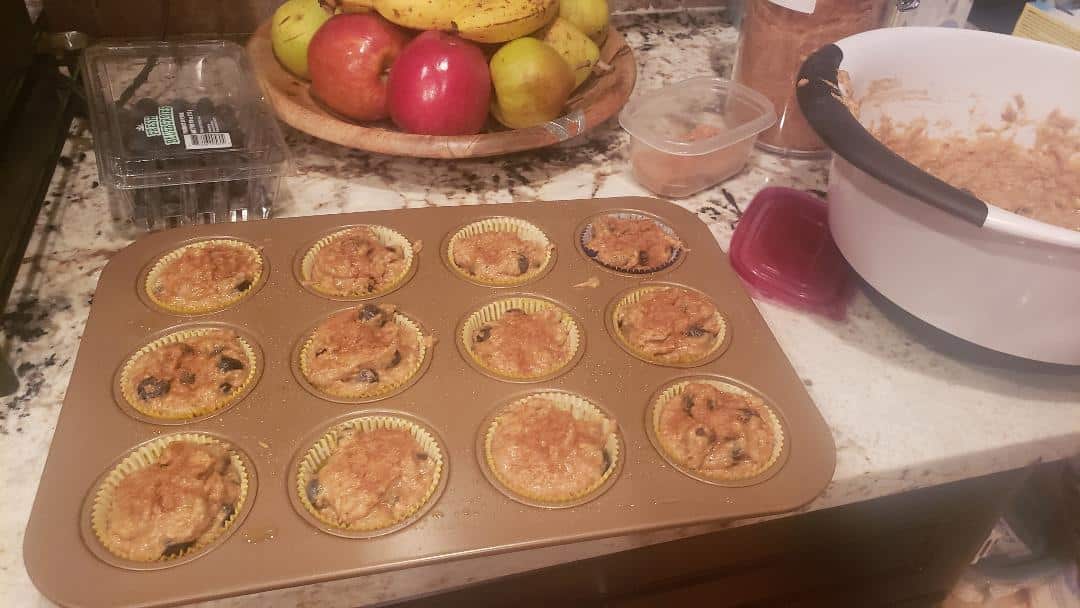
Blueberry Muffins with topping sprinkled on top ready to go into the oven!
Directions:
- Preheat oven to 325 degrees
- Spray muffin pan with your favorite oil spray ( I like coconut) or use muffin cups.
- Cut up banana in a medium sized bowl. Add the coconut sugar and microwave for 45 seconds to one minute.
- Mash the banana sugar mixture until banana is mashed up. Sugar should melt. Set aside.
- Put all other dry ingredients in a large bowl and whisk together just til mixed – get all the lumps out.
- Set dry ingredients aside and go back to mashed banana mixture now cooled.
- Add eggs one at a time, whisking after each.
- Add oil and whisk lightly.
- Add coconut nectar, lemon juice and vanilla extract and whisk lightly.
- Add milk and whisk lightly.
- Slowly add wet mixture into dry mixture whisking together (don’t over beat).
- Use wooden spoon after whisking to make sure everything is mixed together – batter will be sticky. If too thick to mix add a little milk until it is just mixed together and sticky.
- Add blueberries and gently fold them in.
- Fill each muffin cup with batter – to just under filled (don’t over fill).
- Mix together ¼ cup coconut sugar and a tsp or so of cinnamon and sprinkle that mixture lightly over each muffin.
- Place pan on middle rack in heated oven.
- Bake for 20 to 25 minutes – check at 20 minutes (turn muffin tin around at 10 minutes).
- Put toothpick in middle of muffin and if it doesn’t come out clean, bake for another 2 to 5 min.
- Don’t overbake – will still be soft to touch when done (just not sticky in middle).
- Cool for 5 to 10 minutes and then use a rubber spatula to gently remove all muffins from tin.
- Add butter and enjoy (or just eat with nothing like our son Dean does!).
Why I love these blueberry muffins
I love making a batch of these blueberry muffins on the weekend, so I can grab one each morning on my way to the office. They make a great, healthy breakfast with your cup of coffee, or a perfect afternoon snack.
I hope you enjoy them as much as I do. Let me know what you think after you try them!!
by Margaret Dawson | Nov 27, 2019 | Favorite Recipes
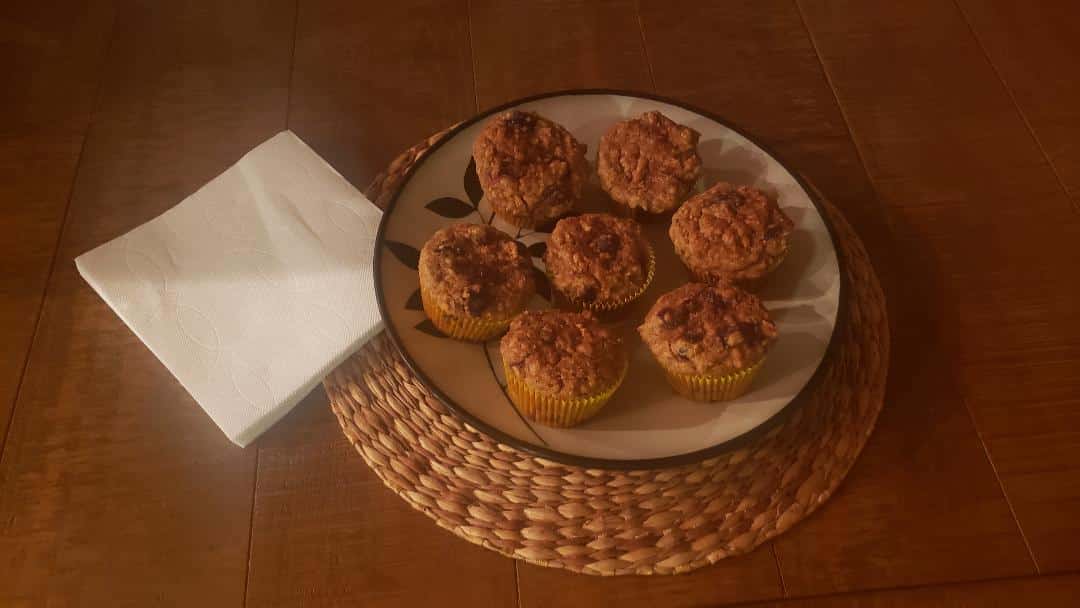
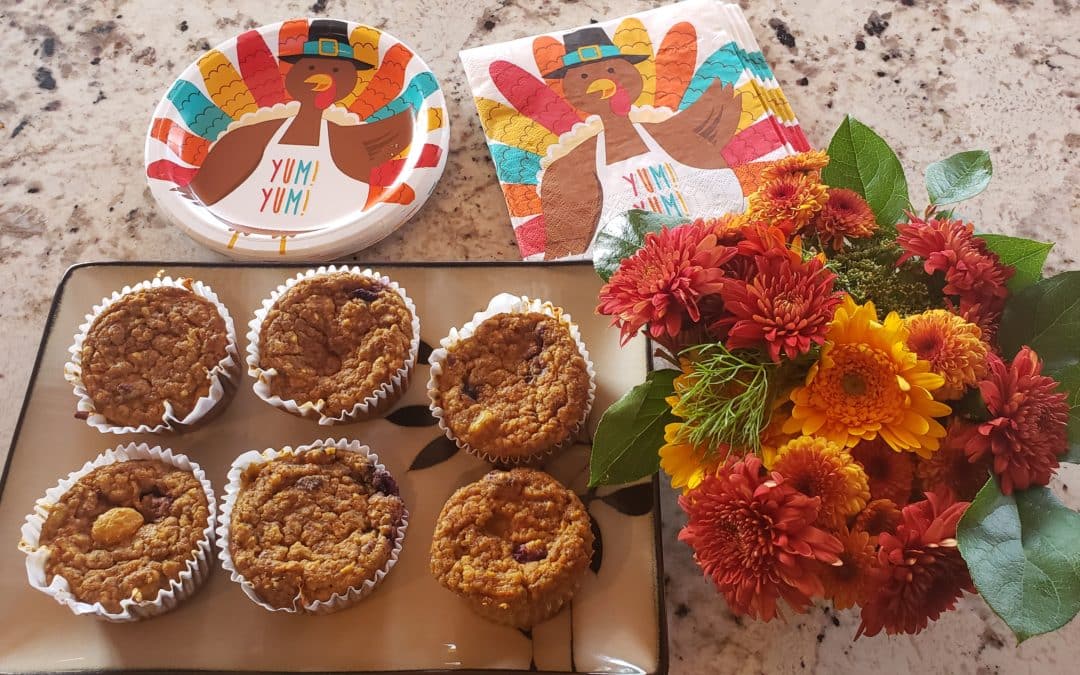
The best gluten free muffins
These muffins are adapted from an original carrot muffin recipe I received from Carol Cochran, who now owns and runs the Horse & Dragon Brewing Company in Fort Collins, CO. I also call this: “I just had a baby and need to poop” muffins, as Carol first gave them to me after I had given birth to one of my sons. And all I can say is, they performed as promised! But now I enjoy them all the time, and I have adapted it to our gluten free, mostly paleo diet. Enjoy!
Ingredients:
- 2 cups freshly-grated Carrots
- 1 cup Coconut Sugar
- 1 TBSP Molasses
- 1 TBSP organic honey
- 2 cups Paleo Flour
- 1/2 cup Coconut Flour
- 1/2 cup Oat Flour
- 1 cup quick cooking GF oats
- 1 cup Flaxseed Meal
- 1 tsp Baking Soda
- 3 tsp Baking Powder
- ½ tsp salt
|
- Mandarin Oranges with juice (23.5oz jar)
- 5 egg whites
- 2½ tsp Ground Cinnamon
- 1 tsp Ground Cloves
- 1 tsp Ground Ginger Powder
- ½ tsp Nutmeg
- ½ cup organic paleo Oil (I like Coconut or grapeseed oil)
- 2 tsp Organic Vanilla Extract
- 1 cup Golden Raisins (optional)
- 1 cup Dried Cranberries (optional)
|
special note on flours
You can mix up the flours based on what you like and your allergy needs.
Sometimes I cut down the oat flour and add a ½ cup to 1 cup fast-cooking oats.
Directions:
- Preheat oven to 350 degrees
- Spray muffin pan with your favorite oil spray or use muffin papers
- Put all ingredients into large bowl
- Stir together
- Beat at high speed with electric mixer for 2 minutes or until completely mixed together
- Stir in raisins and cranberries if you want them (or blueberries!)
- Fill each muffin cup with batter – to just under filled (don’t over fill)
- Place pan on middle rack in heated oven.
- Bake for 20 to 25 minutes – check at 20 minutes (my oven takes 20)
- Put toothpick in middle of muffin and if it doesn’t come out clean, bake for another 2 to 5 min
- Don’t overbake – will still be soft to touch when done (just not sticky in middle)
- Cool for 5 to 10 minutes and then use a rubber spatula to gently remove all muffins from tin.
AND ENJOY!!
This recipe makes 18 to 24 muffins depending on size and how full you fill the muffin tins.
They are very moist – not like a dry cake muffin – and oh so yummy!
Perfect to make when you have famly coming over for a holiday or for easy breakfasts during a work week. They should keep for a week or if kept in the refrigerator.